If you've ever updated a song's title in your automation software and then had to go fix it again in your scheduler, you know the frustration of double work. That’s why we have two-way sync, you make the change once, and both systems stay in step automatically.
This article walks you through setting up that sync between MusicOne Cloud and your automation software using the CloudSync app. If CloudSync isn’t running yet, check this article out first: Installing CloudSync on Windows
Supported software: PlayoutONE, PlayIt Live, and NextKast
Getting started
These first steps apply no matter which automation software you use.
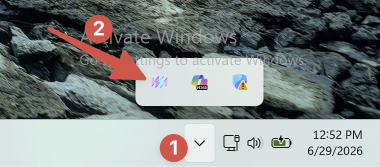
- Open the CloudSync app on your local machine via the tray menu.
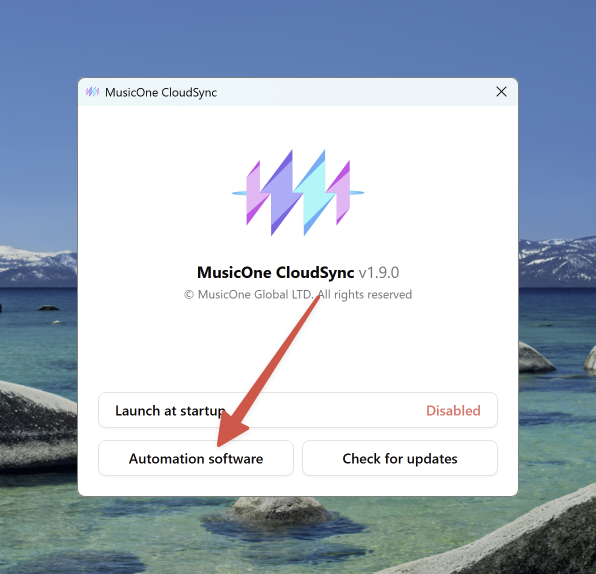
- Click on Automation software.
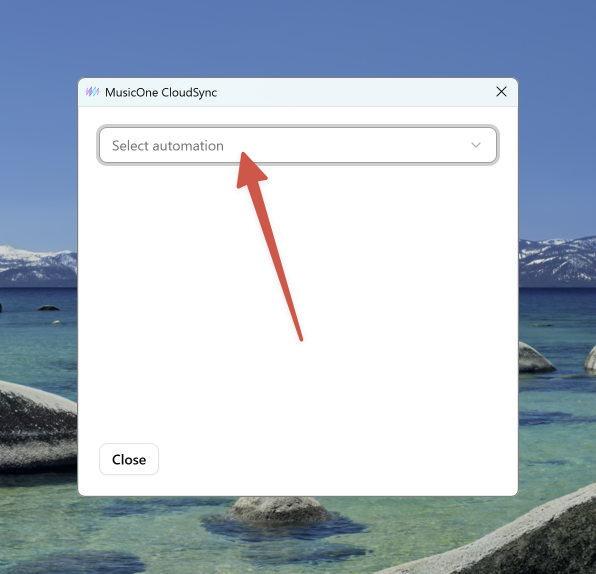
- Select your automation software from the dropdown list.
PlayoutONE
Once you select PlayoutONE, CloudSync will automatically locate it’s database.
In the screen that appears you need to select which Song Types and Product Types you want to sync to MusicOne Cloud. Once you have that selected, click Synchronise to continue.
In the next step you select if you want to do a ‘Full library transfer’ or ‘Sync changes only’. In most cases, if you are setting up your station, you want to do a Full library transfer. That will make sure everything you selected will be moved into MusicOne Cloud. After you made your choice, click Start sync. You should see a success message and you songs should appear in MusicOne Cloud.
PlayIt Live
Once you select PlayIt Live a configuration screen appears where you’ll need to add your PlayIt Live API key. Here’s how to get it:
- In Playit Live, go to the File menu and click Enable remote connections…
- The Configure Remote Access Server window opens. Click the
https://localhost:25433(or similar) link, next to Open remote management in browser.
- In the browser window that opens, click on Remote Management (log in if needed).
- Then click Settings & Tools in the bottom left of the screen.
- Navigate to the API Keys tab
- Under Create API Key you enter a name, for example CloudSync and then click Create.
- Your new API Key should appear, click it to copy.
Go to the CloudSync app again, paste the API key and click Create. A new screen appears where you need to select which groups you want to sync. Once you have selected what you want to sync, click Syncronise.
In the next step you select if you want to do a ‘Full library transfer’ or ‘Sync changes only’. In most cases, if you are setting up your station, you want to do a Full library transfer. That will make sure everything you selected will be moved into MusicOne Cloud. After you made your choice, click Start sync. You should see a success message and you songs should appear in MusicOne Cloud.