Getting into MusicOne takes about five minutes. No credit card, no phone call, no sales process. You fill out a form, pick your plan, and you're scheduling music.
Here's what to expect.
Register your account
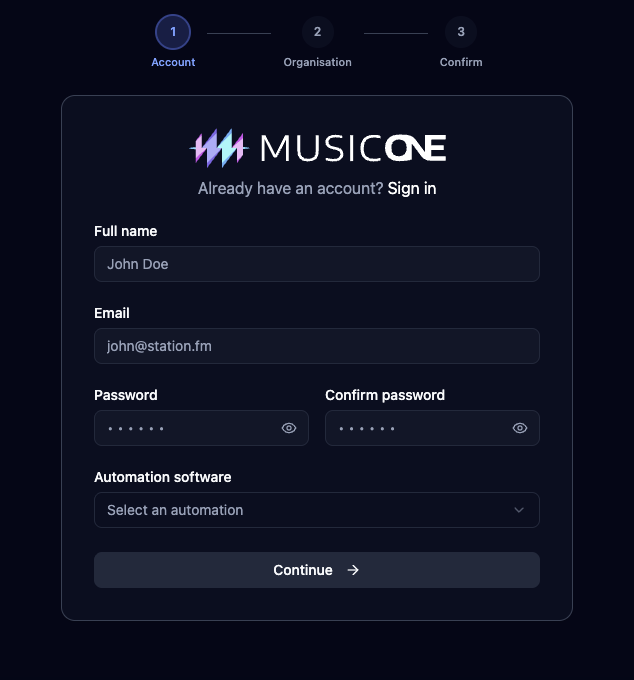
Step 1: Your account
Go to https://cloud.musicone.io/onboard. Start at the sign-up page and enter your full name, email address, and a password. The password needs to be at least six characters. Select your automation system and click ‘Continue’.
Step 2: Organisation details
This is your billing profile. Choose whether you're signing up as an individual or as an organisation. If you're an organisation, you'll need a company name and a tax ID. Everyone needs a country, address, city, zip code, and phone number.
If you're a solo music director scheduling for one station, "individual" is almost certainly the right choice.

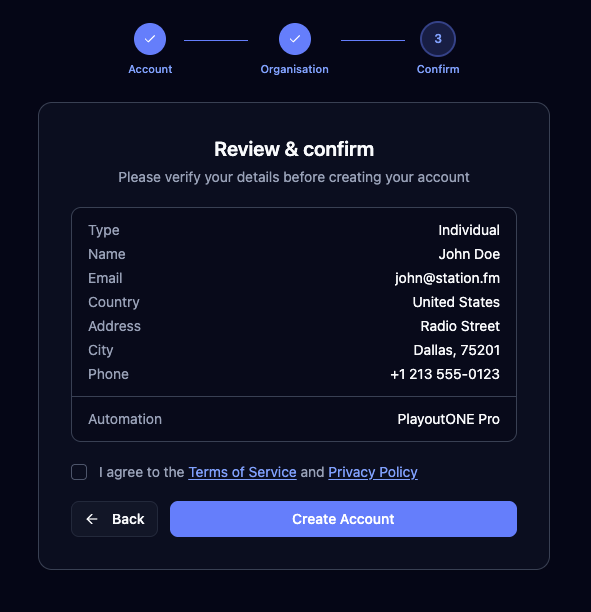
Step 3: Review and confirm
Before anything gets created, MusicOne shows you a summary of everything: your name, address and automation system. Read it once. Accept the Terms of Service and Privacy Policy and hit Create Account.
Create you first station
After you’ve created your account, you'll be taken straight into station setup.
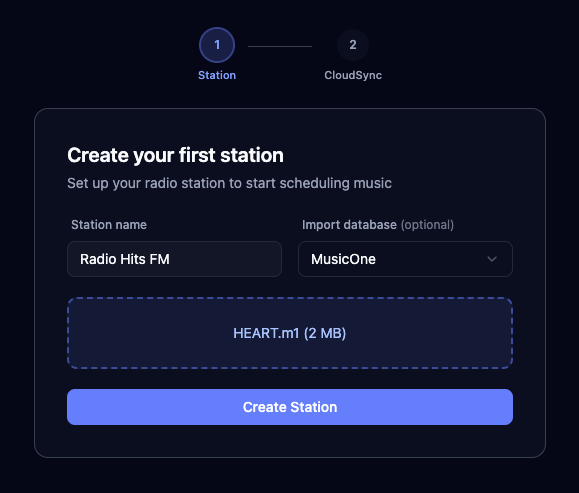
Step 1: Your first station
This is where you give your station a name and decide whether to import an existing music database.
If you're starting fresh, you can skip the import. Your library, categories, and clocks will be empty and ready to build.
If you have an existing database, you can import it now. MusicOne supports imports from the M1 Windows application and from MusicMaster. Depending on the size of your library, the import can take a few minutes. You'll see a progress indicator. You can close the browser tab if you need to, MusicOne will keep working in the background.

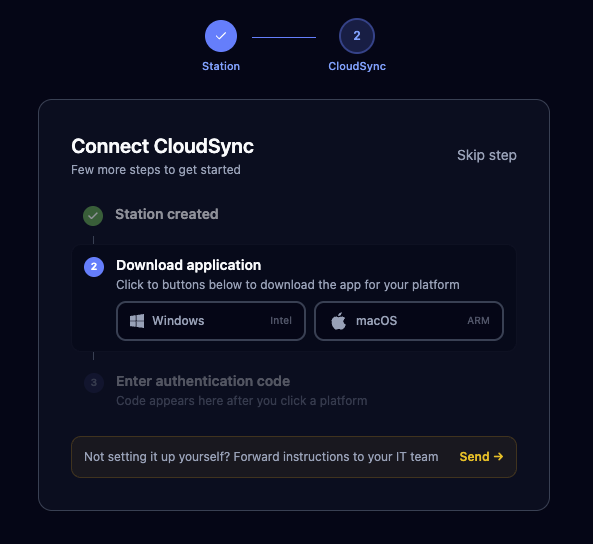
Step 2: Connect CloudSync
CloudSync is the small application that sits on your local machine and bridges MusicOne Cloud to your automation software. It syncs your scheduled logs out to a folder your automation software can read from, and it handles the music playback.
After your station is created, you'll be prompted to download CloudSync. This step can be skipped during onboarding if you're not ready. You can come back to it through Preferences at any time.
If you're not the person setting up the playout computer, there's an option to email the setup instructions and connection code to your IT contact instead.
Otherwise, pick your platform, Windows or macOS. The download starts immediately and a connection code appears in the browser.
Install CloudSync on the computer that runs your automation software. Or a computer that has access to the folder your automation system reads logs from. For detailed instructions see this article, you can skip straight to the ‘Install’ chapter: Installing CloudSync on Windows
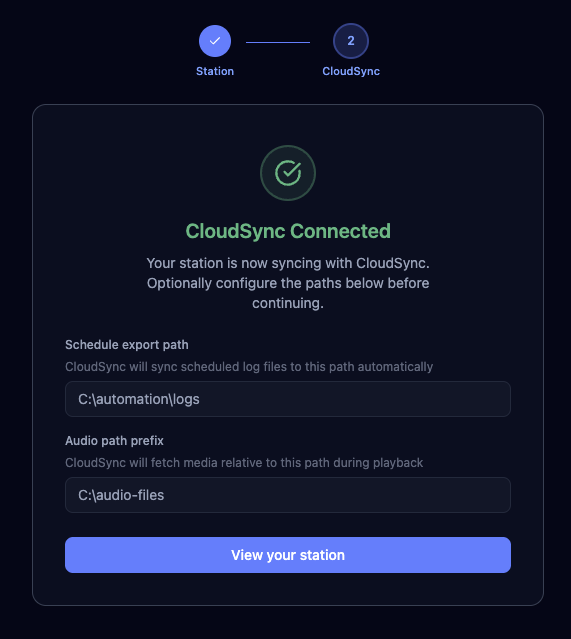
Open CloudSync on your machine, enter the code, and the two connect. You'll see a confirmation in the browser when it works. Here you can also tell CloudSync where to put the scheduled log files and where to find your audio.
Schedule export path: the folder CloudSync writes log files to. This needs to be the folder your automation software watches for new playlists.
Audio path prefix (PlayoutONE only): the root folder where your audio files live. CloudSync uses this for audio playback. If you're on a different automation system, this doesn't apply.
You're in
Once CloudSync is connected, or if you skipped this step, you'll land on your station dashboard. The categories sidebar is on the left. The clock builder is accessible from the top navigation. From here you build your library, set up your categories, design your clocks, and start scheduling.
If you imported a database, your songs, categories, and clocks will already be there. Rules are not imported and will need to be set up fresh.
Start by exploring what came in. The overview article gives you a map of how the pieces connect: MusicOne overview